Nano blink
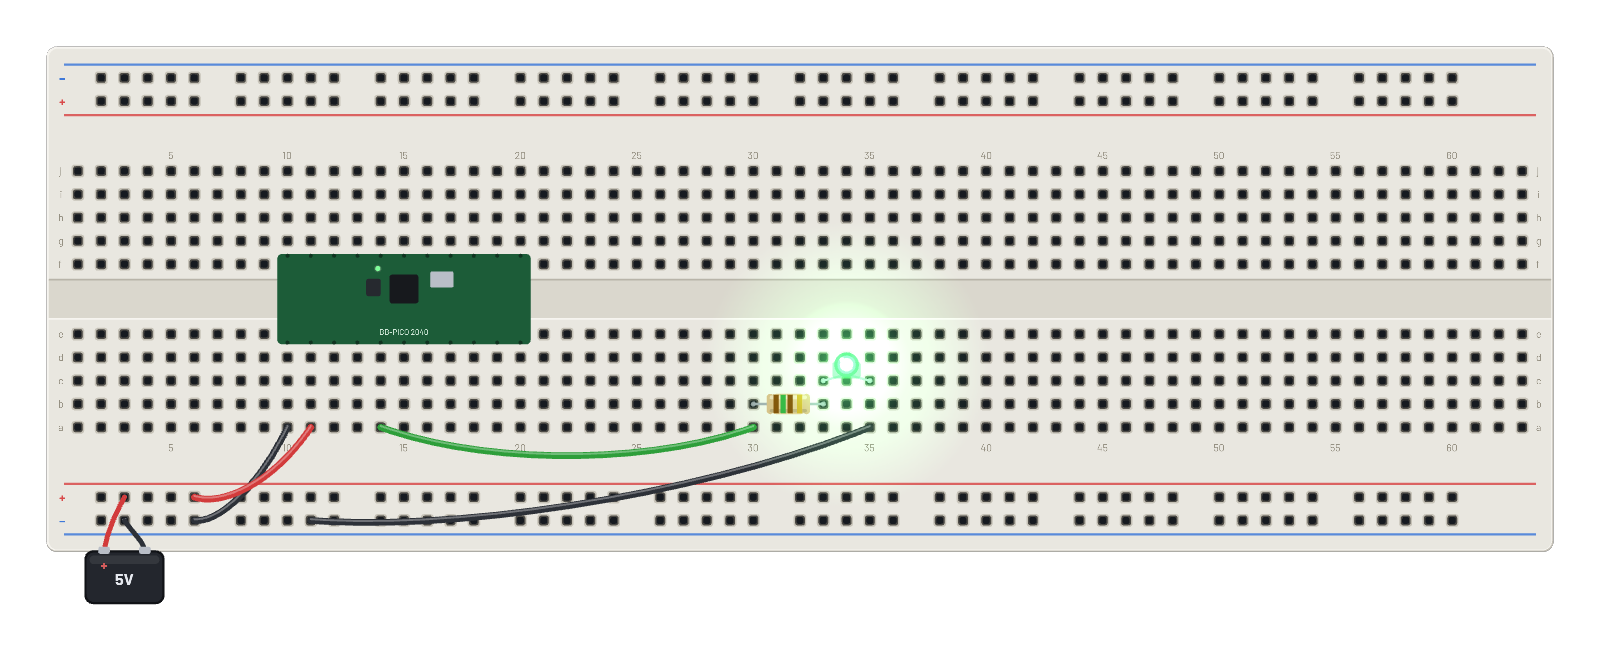
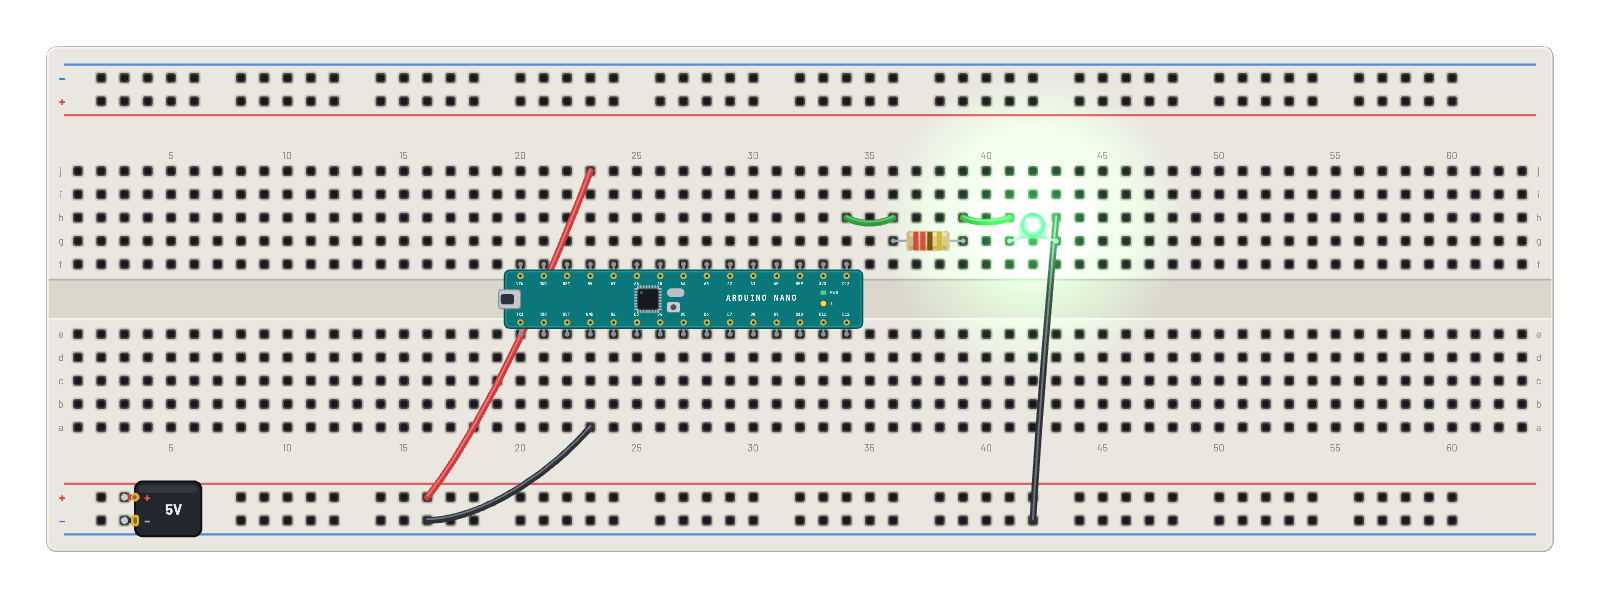
A real Arduino Nano running real AVR machine code, toggling D13 every 0.5 s — the board’s own "L" lamp and the LED on the bench follow the same pin. The Code tab holds the matching editable Arduino sketch; sign in and press Compile & upload to build and flash your own.
How it works
Hello-world on a real emulated ATmega328P: the Nano boots genuine AVR machine code that drives D13 high and low every 500 ms, and the green LED follows through its 220 Ω series resistor. The Code tab holds the same logic as an Arduino sketch (pinMode, digitalWrite, delay): sign in and press Compile & upload, and the server builds real firmware from your edit and flashes it onto the bench board.
What's on the bench
- Arduino Nano
- Battery
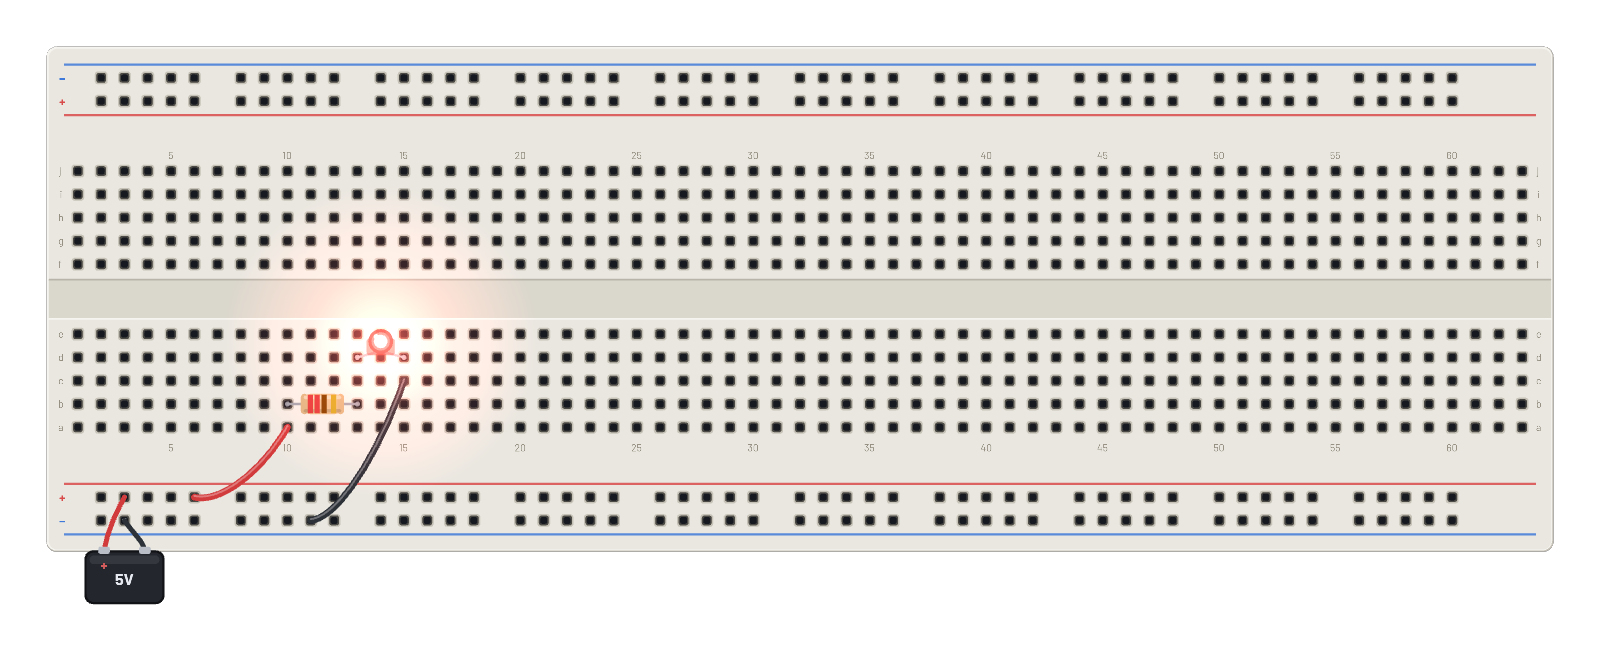
- LED
- Resistor
How it's wired
- hole a23→hole B-13
- hole j23→hole B+13
- hole h34→hole h36
- hole h39→hole h41
- hole h43→hole B-35
The code
This Arduino C++ sketch lives in the Code tab; sign in and press Compile & upload to build real firmware for the emulated board.
// The same blink as an Arduino sketch. Edit it, then Compile & upload
// (sign-in needed): the server builds real AVR firmware and flashes it here.
void setup() {
  pinMode(13, OUTPUT);
}

void loop() {
  digitalWrite(13, HIGH);
  delay(500);
  digitalWrite(13, LOW);
  delay(500);
}
Try this
- Probe D13 and open the ∿ Scope: a clean 1-second-period square wave between 0 and 5 V.
- Change both delay(500) values in the Code tab and Compile & upload to set your own rhythm.
- Hover the LED’s anode while it blinks and watch the voltage step in place.
- Swap the LED color in the Inspector — the electrical behavior doesn’t change, the glow does.