Cómo funciona
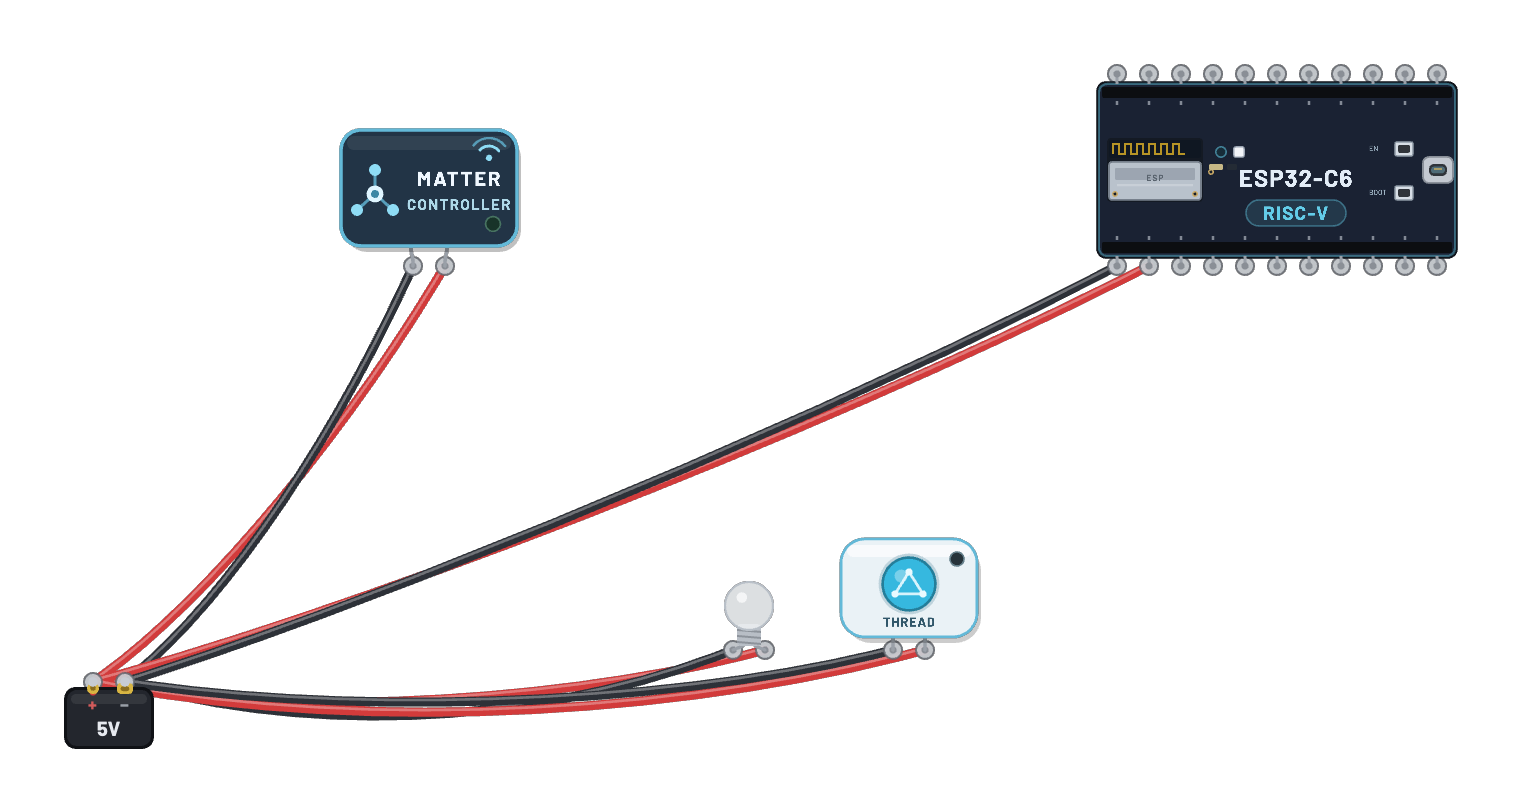
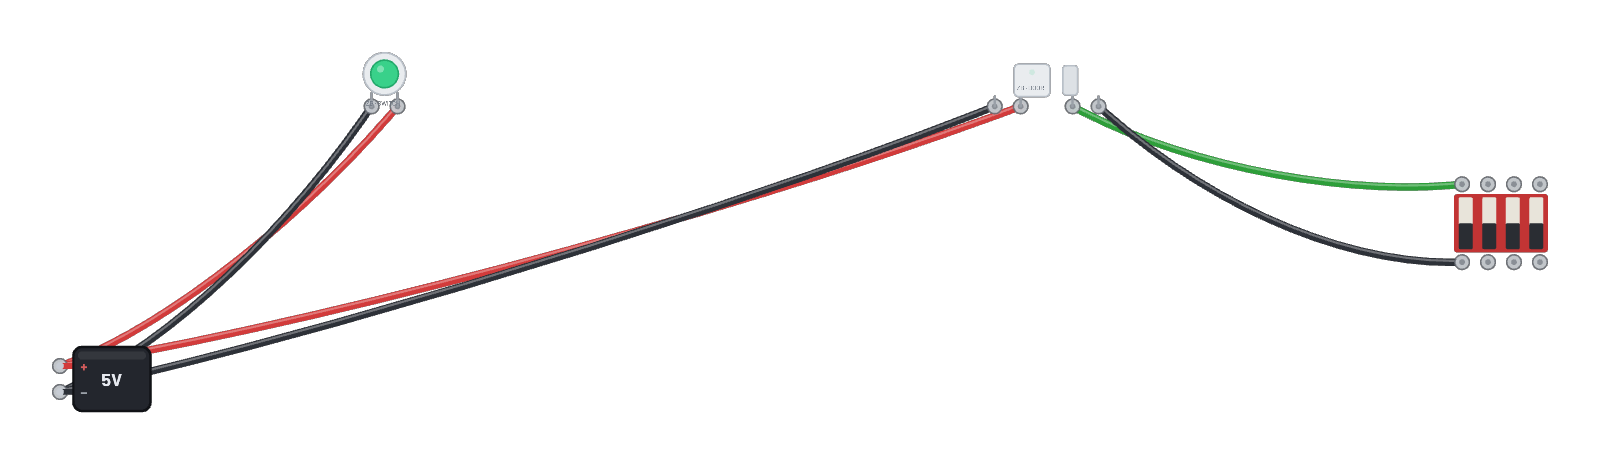
Un sensor de puerta cableado es un contacto y una radio: eso es este producto. El C6 cerrado ejecuta firmware de contacto de zona IAS esp-zigbee: su entrada GPIO4 (con la resistencia pull-up interna) lee los dos terminales, y el sensor se une a la red del botón inteligente, que actúa como coordinador. El DIP entre terminales representa la puerta: cerrado = terminales en corto = contacto cerrado. Cada cambio llama setClosed()/setOpen() y envía un informe IAS real de estado de zona por radio.
Componentes del montaje
- Batería (Battery)
- Botón inteligente Zigbee (Zigbee Smart Button)
- Interruptor DIP (DIP Switch)
- Sensor de contacto Zigbee (Zigbee Contact Sensor)
Cómo está conectado
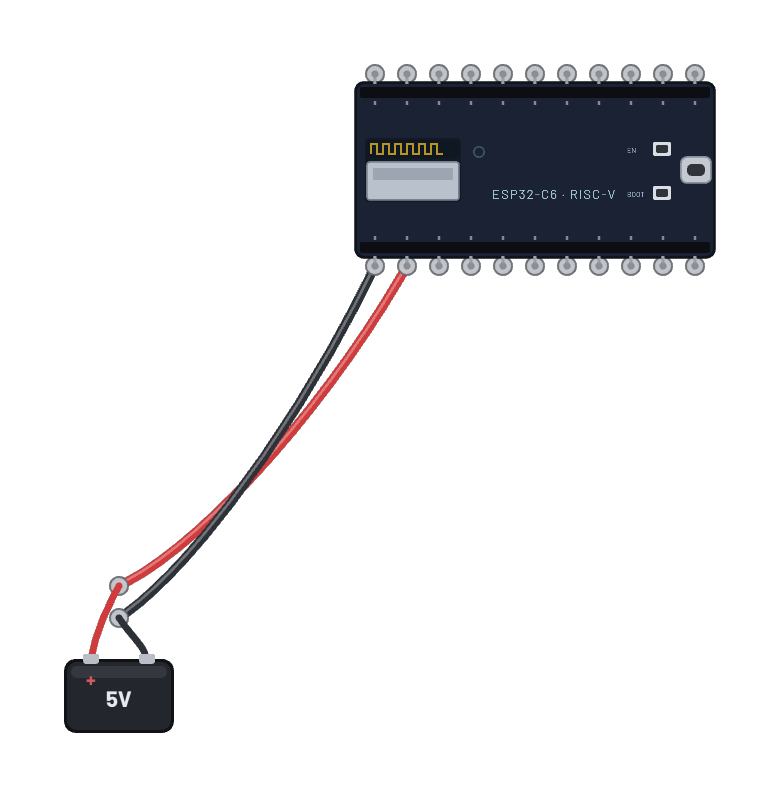
- Batería (Battery) · pos→Botón inteligente Zigbee (Zigbee Smart Button) · vcc
- Batería (Battery) · neg→Botón inteligente Zigbee (Zigbee Smart Button) · gnd
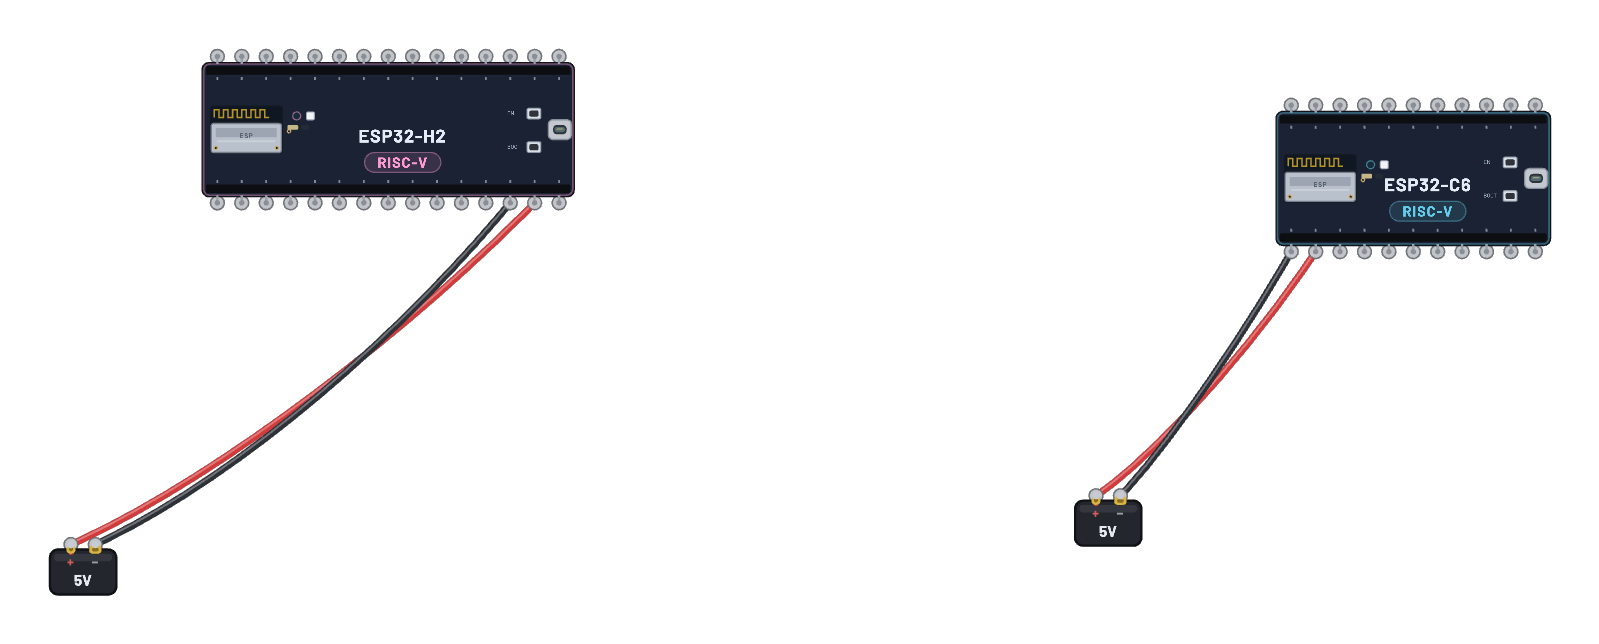
- Batería (Battery) · pos→Sensor de contacto Zigbee (Zigbee Contact Sensor) · vcc
- Batería (Battery) · neg→Sensor de contacto Zigbee (Zigbee Contact Sensor) · gnd
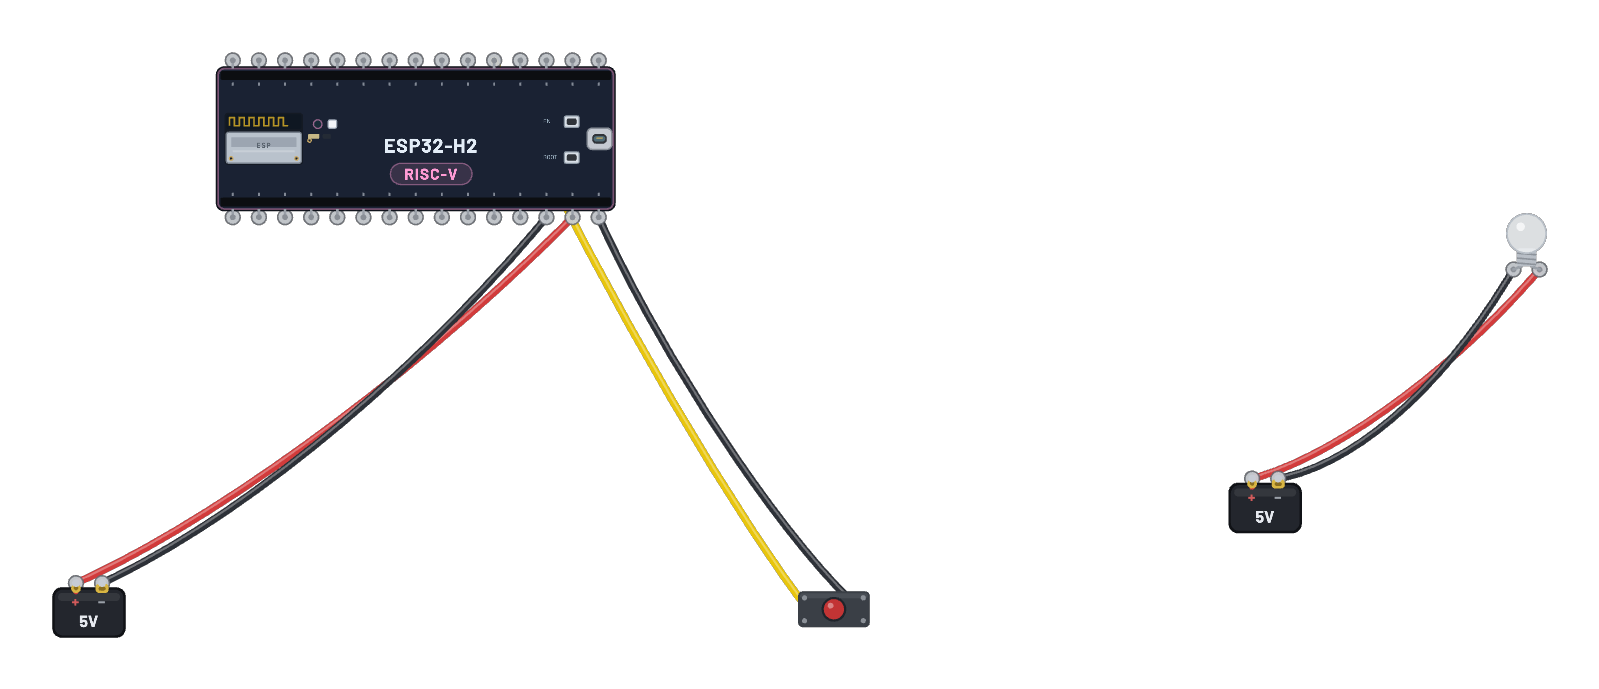
- Sensor de contacto Zigbee (Zigbee Contact Sensor) · c1→Interruptor DIP (DIP Switch) · a0
- Sensor de contacto Zigbee (Zigbee Contact Sensor) · c2→Interruptor DIP (DIP Switch) · b0
El código
Los sketches de Arduino C++ exactos con los que se compiló el firmware incluido. En el simulador, abre Code para editarlos y pulsa Compile & upload para volver a compilar el firmware de la placa.
// Zigbee contact sensor (door/window) — an IAS Zone end device.
//
// The contact input is GPIO4 with the internal pull-up: short it to GND
// (door CLOSED) or leave it open (door OPEN), exactly like the two screw
// terminals on a wired door-sensor. Every change reports a genuine IAS
// zone-status change to the coordinator over the air.

#include <Arduino.h>
#ifndef ZIGBEE_MODE_ED
#error "Zigbee end device mode is not selected in Tools->Zigbee mode"
#endif

#include "Zigbee.h"

#define ZIGBEE_CONTACT_ENDPOINT 10
const uint8_t contact = 4;  // GPIO4: LOW (shorted to GND) = closed

ZigbeeContactSwitch zbContact = ZigbeeContactSwitch(ZIGBEE_CONTACT_ENDPOINT);

void setup() {
  Serial.begin(115200);
  pinMode(contact, INPUT_PULLUP);

  zbContact.setManufacturerAndModel("Breadboard", "DoorSensor");
  Serial.println("Adding ZigbeeContactSwitch endpoint to Zigbee Core");
  Zigbee.addEndpoint(&zbContact);

  if (!Zigbee.begin()) {
    Serial.println("Zigbee failed to start!");
    Serial.println("Rebooting...");
    ESP.restart();
  }
  Serial.println("Connecting to network");
  while (!Zigbee.connected()) {
    Serial.print(".");
    delay(100);
  }
  Serial.println();
  Serial.println("Joined. Contact reports armed (GPIO4: low = closed).");
}

void loop() {
  static int last = -1;
  int level = digitalRead(contact);
  if (level != last) {
    last = level;
    if (level == LOW) {
      zbContact.setClosed();
      Serial.println("DOOR CLOSED (contact made) - reported");
    } else {
      zbContact.setOpen();
      Serial.println("DOOR OPEN (contact broken) - reported");
    }
  }
  delay(100);
}
Licencia del firmware (en inglés)
Notice: this firmware uses the LGPL-licensed Arduino core library
arduino-zigbee-switch-c6.bin is statically linked with Arduino-ESP32 3.3.10. Parts of this library are licensed under the GNU Lesser General Public License, version 2.1 or (at your option) any later version. You may modify this work for your own use and reverse engineer it to debug those modifications. Download the relink package and corresponding source to rebuild it with a changed library.
It also links Espressif’s ZBOSS Zigbee stack, supplied unchanged under its own licence, which forbids reverse engineering, decompiling, modifying or disassembling the ZBOSS binary itself. Relink with the ZBOSS archives unchanged.
- Relink package: zigbee-switch-c6-relink.zip (1.0 MB)
- Required shared inputs: arduino-esp32-3.3.10-esp32c6-sdk.zip (10.0 MB), arduino-esp32-3.3.10-notices.zip (0.1 MB)
- Corresponding source: arduino-esp32-3.3.10-core-source.zip (1.2 MB), arduino-esp32-3.3.10-esp32c6-headers-source.zip (2.1 MB)
- Licence texts and relink instructions
Notice: this firmware uses the LGPL-licensed Arduino core library
arduino-zigbee-contact-c6.bin is statically linked with Arduino-ESP32 3.3.10. Parts of this library are licensed under the GNU Lesser General Public License, version 2.1 or (at your option) any later version. You may modify this work for your own use and reverse engineer it to debug those modifications. Download the relink package and corresponding source to rebuild it with a changed library.
It also links Espressif’s ZBOSS Zigbee stack, supplied unchanged under its own licence, which forbids reverse engineering, decompiling, modifying or disassembling the ZBOSS binary itself. Relink with the ZBOSS archives unchanged.
- Relink package: zigbee-contact-c6-relink.zip (1.0 MB)
- Required shared inputs: arduino-esp32-3.3.10-esp32c6-sdk.zip (10.0 MB), arduino-esp32-3.3.10-notices.zip (0.1 MB)
- Corresponding source: arduino-esp32-3.3.10-core-source.zip (1.2 MB), arduino-esp32-3.3.10-esp32c6-headers-source.zip (2.1 MB)
- Licence texts and relink instructions
Prueba esto
- Espera a que se conecte (su pestaña serial imprime puntos y después Joined).
- Acciona el DIP marcado 1 entre los terminales y observa DOOR OPEN / DOOR CLOSED al transmitir cada informe.
- Selecciona el sensor: el Inspector muestra conexión y posición del contacto en vivo (la barra del imán se mueve).
- Abre Wi-Fi sniffer para capturar las tramas de informe de zona IAS.