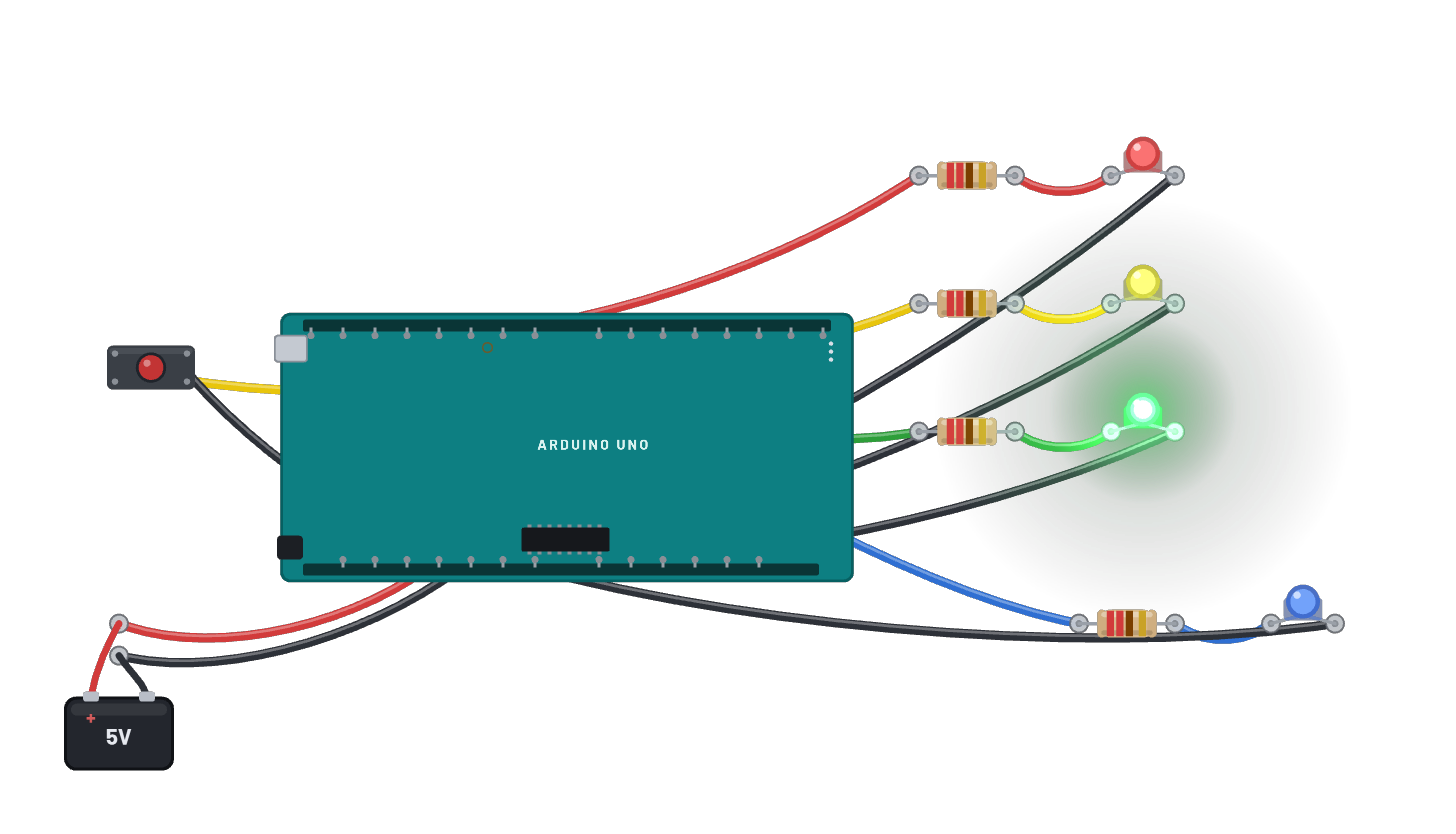
Cómo funciona
Un controlador de cruce real: máquina de estados consultada por el programa en Uno. Rojo, amarillo y verde en D12/D11/D10, WALK en D8 y botón en D2 con INPUT_PULLUP (pulsar da LOW). Verde dura al menos 1.5 s y continúa hasta una petición; amarillo dura un segundo; rojo y WALK, 3 s; WALK parpadea 4 veces antes de volver a verde. Serial narra cada fase y Code contiene el mismo sketch editable.
Componentes del montaje
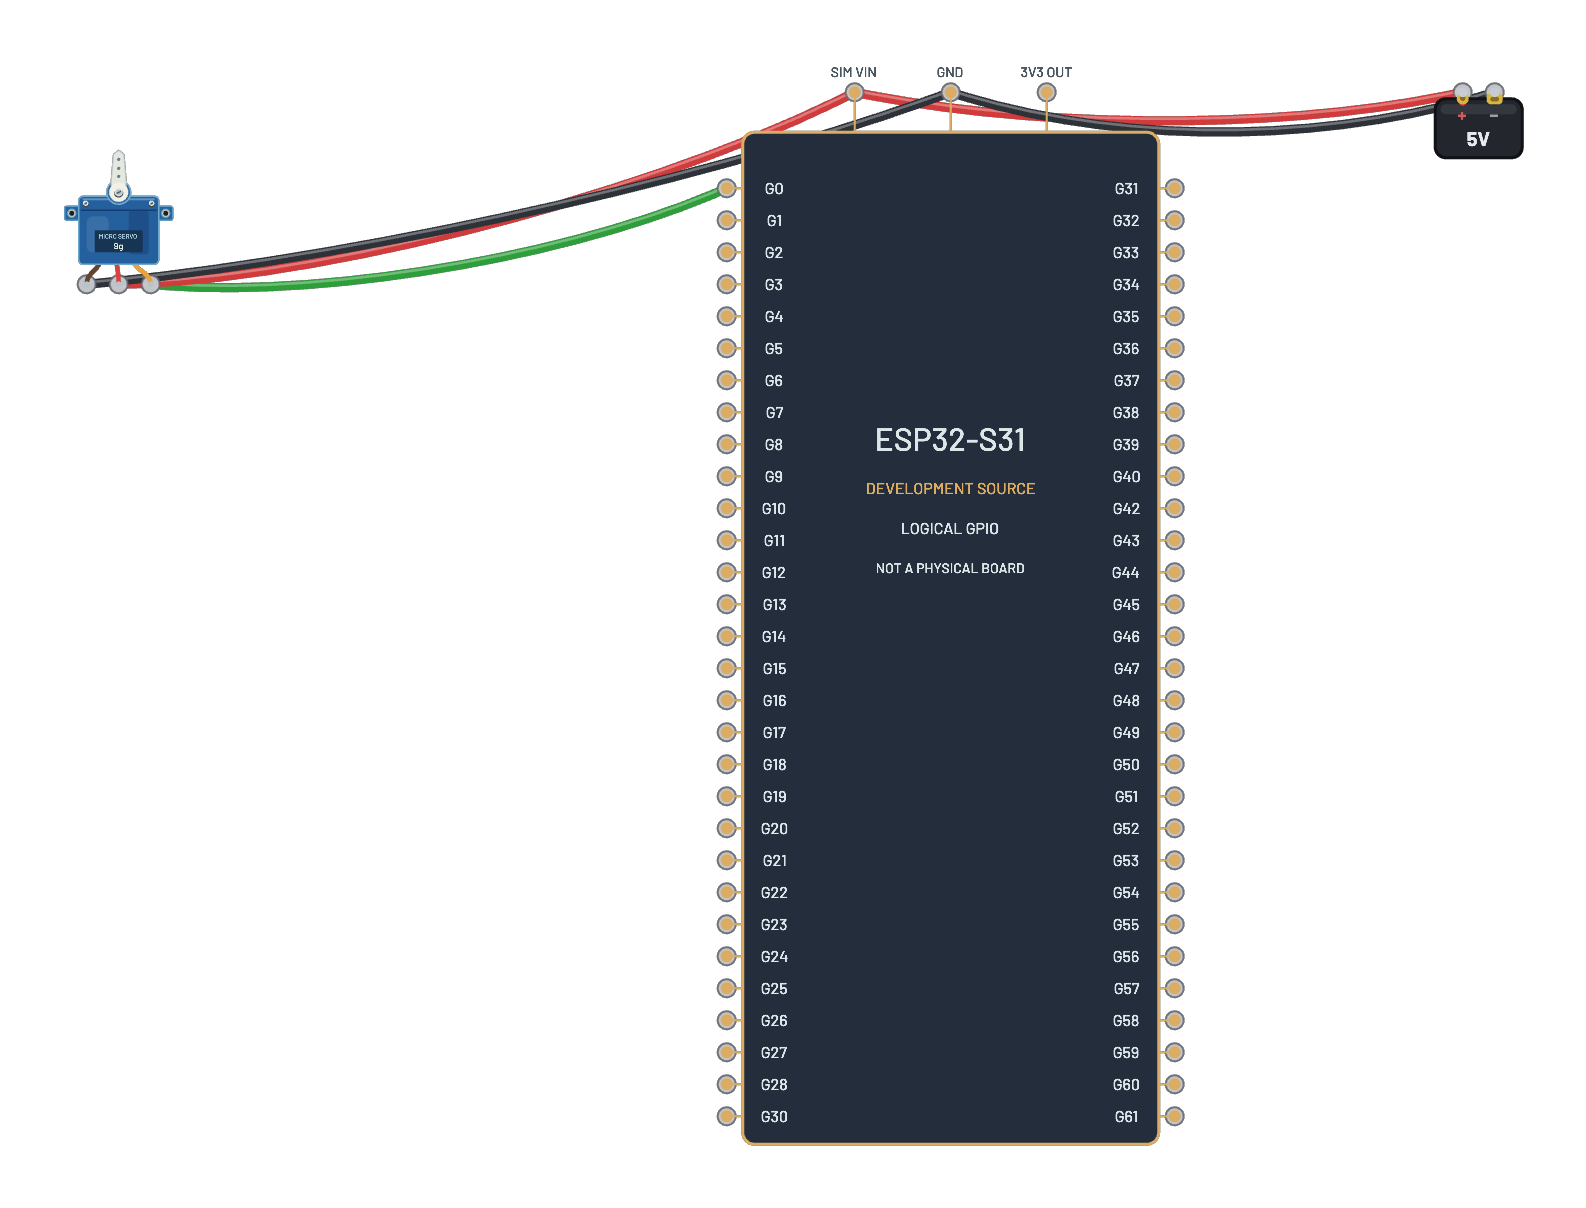
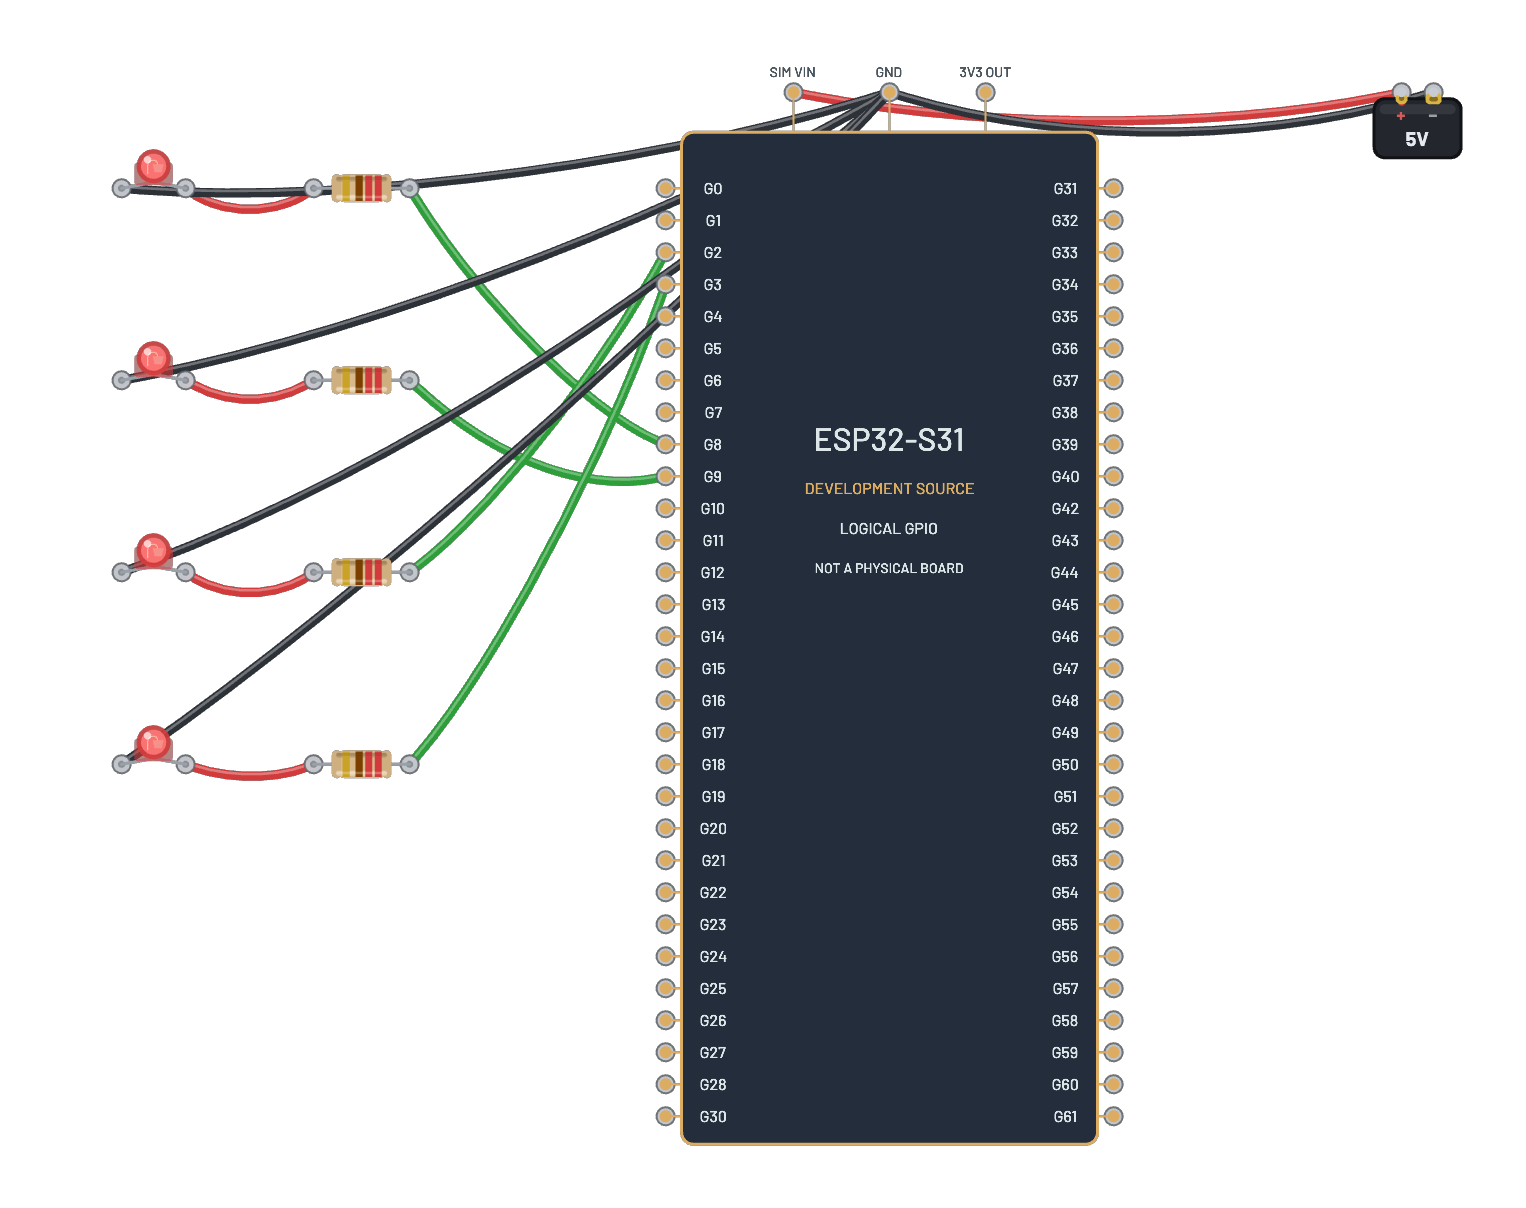
- 4× LED
- 4× Resistencia (Resistor)
- Arduino Uno R3
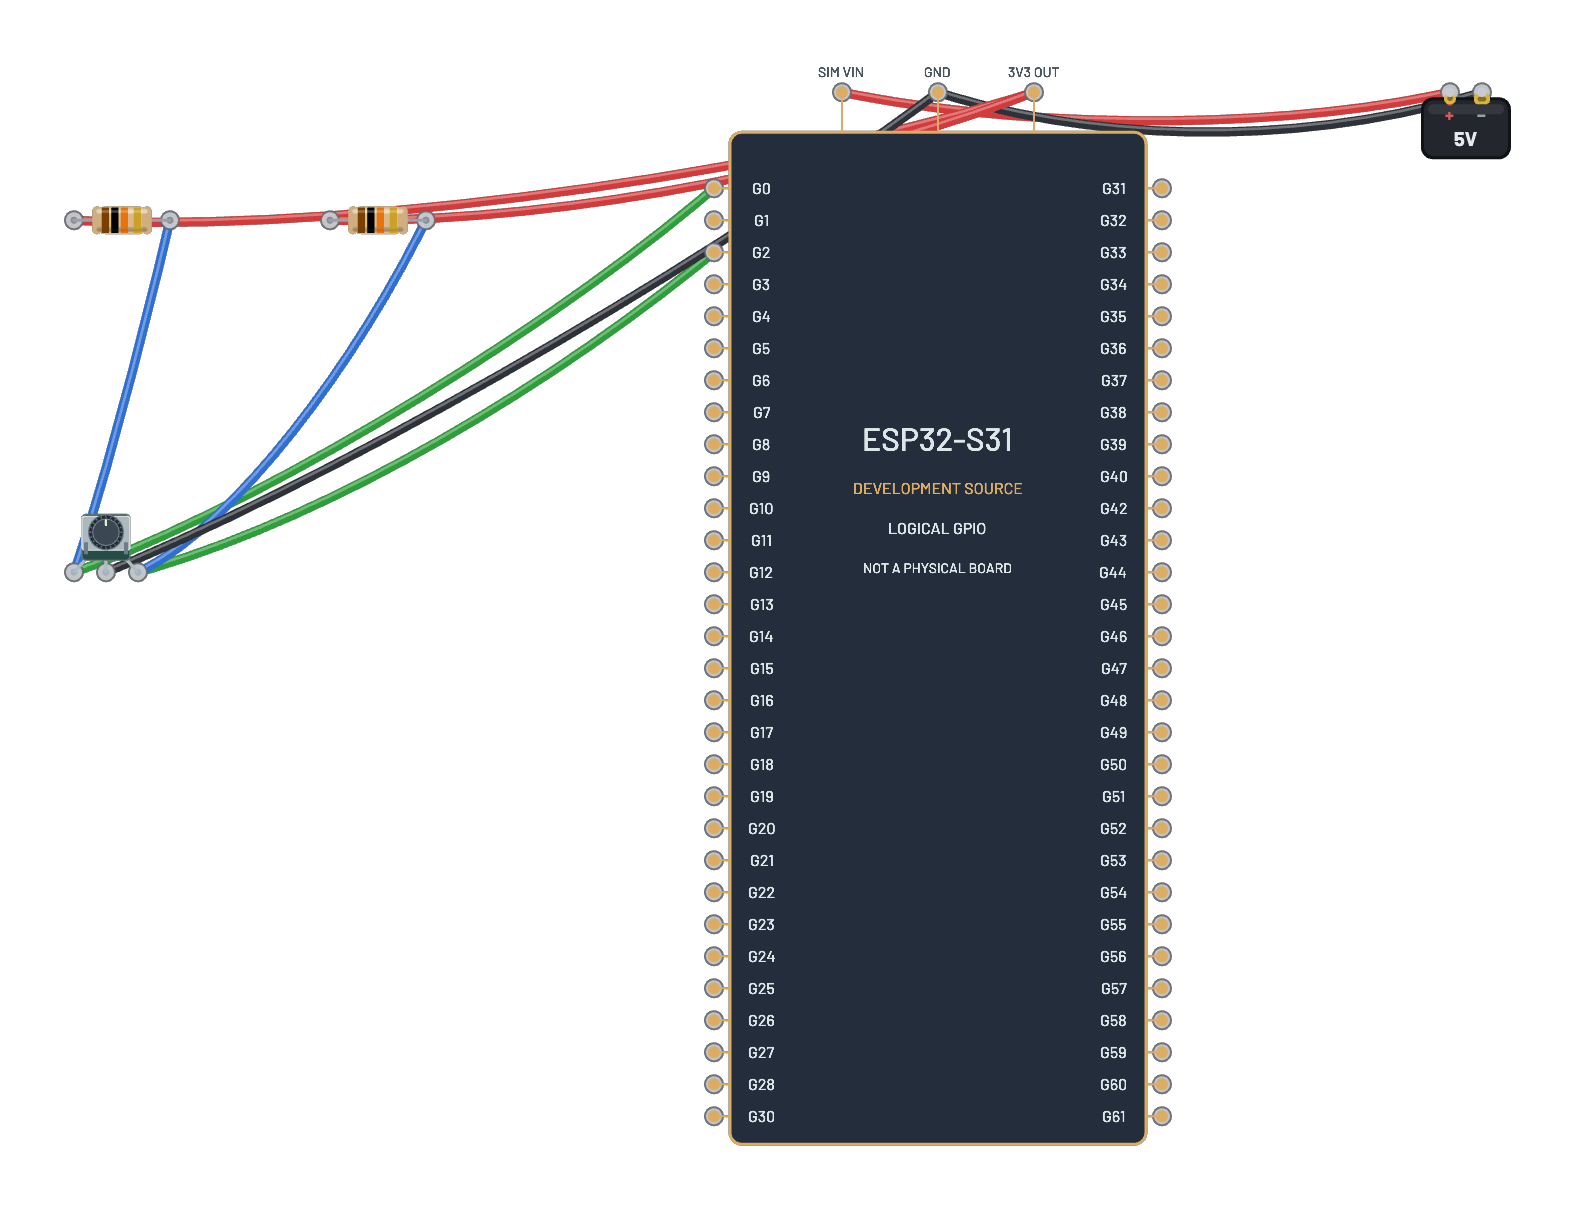
- Pulsador (Button)
Cómo está conectado
- Arduino Uno R3 · d12→Resistencia (Resistor) · a
- Resistencia (Resistor) · b→LED · a
- LED · k→Arduino Uno R3 · gnd2
- Arduino Uno R3 · d11→Resistencia (Resistor) · a
- Resistencia (Resistor) · b→LED · a
- LED · k→Arduino Uno R3 · gnd2
- Arduino Uno R3 · d10→Resistencia (Resistor) · a
- Resistencia (Resistor) · b→LED · a
- LED · k→Arduino Uno R3 · gnd2
- Arduino Uno R3 · d8→Resistencia (Resistor) · a
- Resistencia (Resistor) · b→LED · a
- LED · k→Arduino Uno R3 · gnd2
- Pulsador (Button) · a→Arduino Uno R3 · d2
- Pulsador (Button) · b→Arduino Uno R3 · gnd2
El código
Este sketch de Arduino C++ está en Code; inicia sesión y pulsa Compile & upload para compilar firmware real para la placa emulada.
// The same crossing controller as an Arduino sketch. Edit it, then
// Compile & upload (sign-in needed): the server builds real AVR firmware.
const int RED_PIN = 12, YELLOW_PIN = 11, GREEN_PIN = 10;
const int WALK_PIN = 8, BUTTON_PIN = 2;

void lights(bool r, bool y, bool g, bool walk) {
  digitalWrite(RED_PIN, r);
  digitalWrite(YELLOW_PIN, y);
  digitalWrite(GREEN_PIN, g);
  digitalWrite(WALK_PIN, walk);
}

void setup() {
  pinMode(RED_PIN, OUTPUT);
  pinMode(YELLOW_PIN, OUTPUT);
  pinMode(GREEN_PIN, OUTPUT);
  pinMode(WALK_PIN, OUTPUT);
  pinMode(BUTTON_PIN, INPUT_PULLUP);  // the button closes to ground
  Serial.begin(9600);
}

void loop() {
  lights(false, false, true, false);
  Serial.println("GREEN  cars flow");
  unsigned long start = millis();
  bool requested = false;
  // Green holds at least 1.5 s, then until someone asks to cross.
  while (millis() - start < 1500 || !requested) {
    if (digitalRead(BUTTON_PIN) == LOW) requested = true;
    delay(10);
  }
  lights(false, true, false, false);
  Serial.println("YELLOW  crossing requested");
  delay(1000);
  lights(true, false, false, true);
  Serial.println("RED  WALK on");
  delay(3000);
  Serial.println("WALK flashing  clear the road");
  for (int i = 0; i < 4; i++) {
    digitalWrite(WALK_PIN, LOW);
    delay(250);
    digitalWrite(WALK_PIN, HIGH);
    delay(250);
  }
  digitalWrite(WALK_PIN, LOW);
}
Prueba esto
- MANTÉN pulsado: la petición solo se atiende tras el verde mínimo.
- Sigue Serial: GREEN cars flow, YELLOW crossing requested, RED WALK on.
- Alarga la fase rojo+WALK para peatones más lentos y pulsa Compile & upload.
- Pulsa durante amarillo: la máquina de estados ignora la petición, como debe.