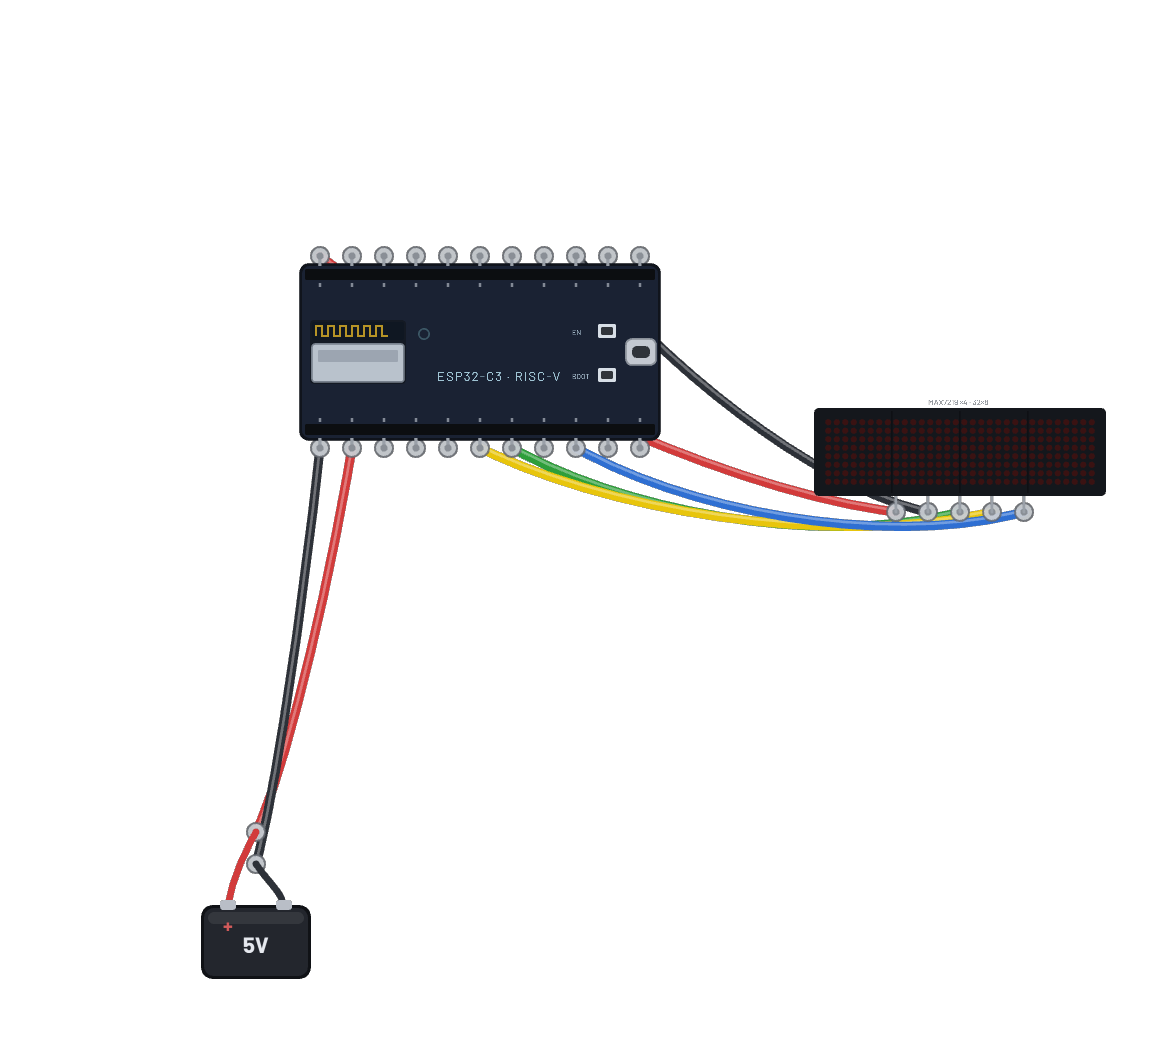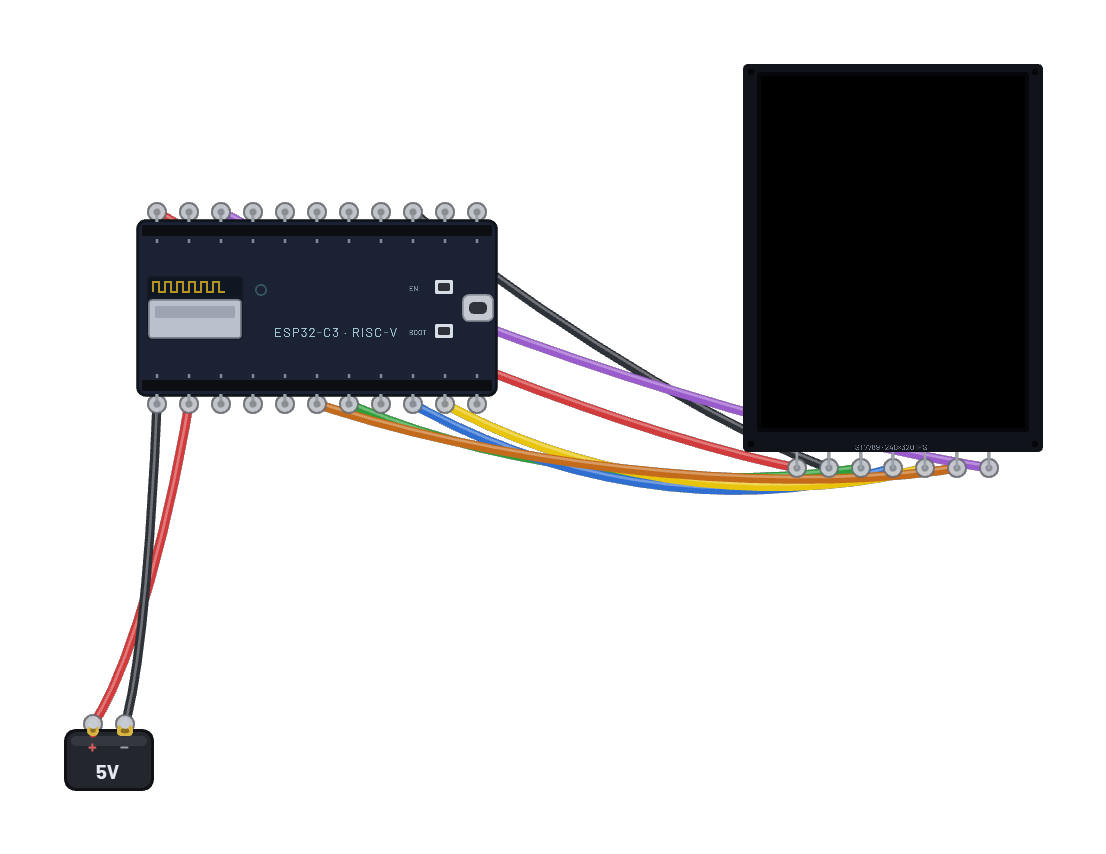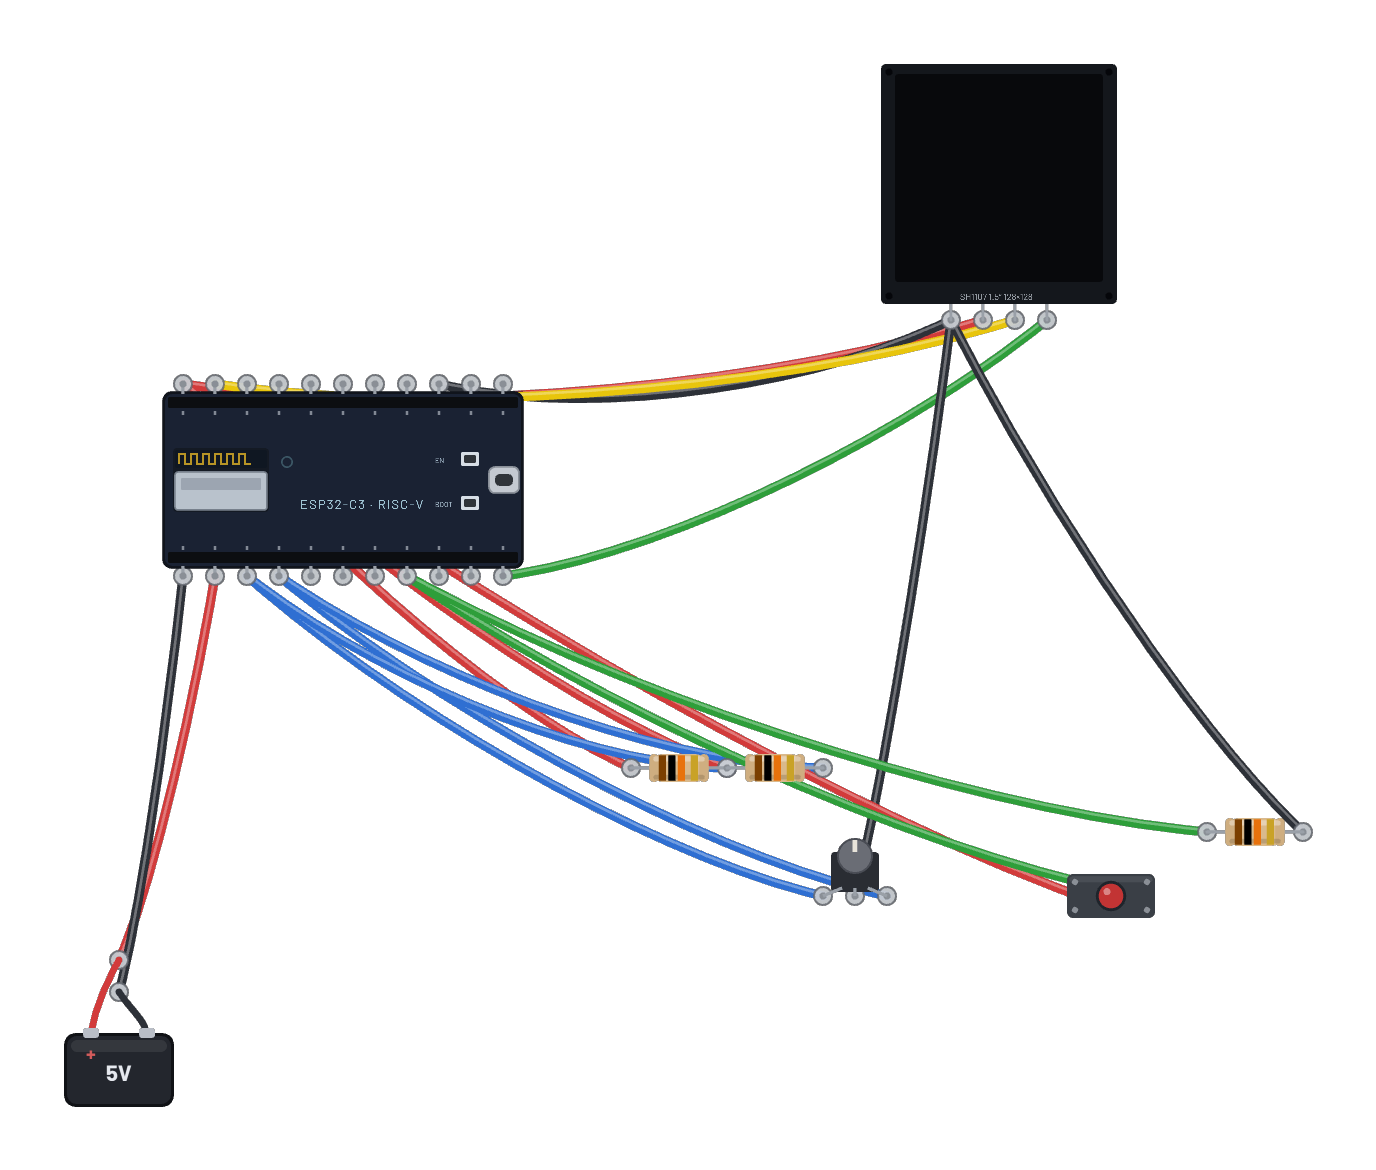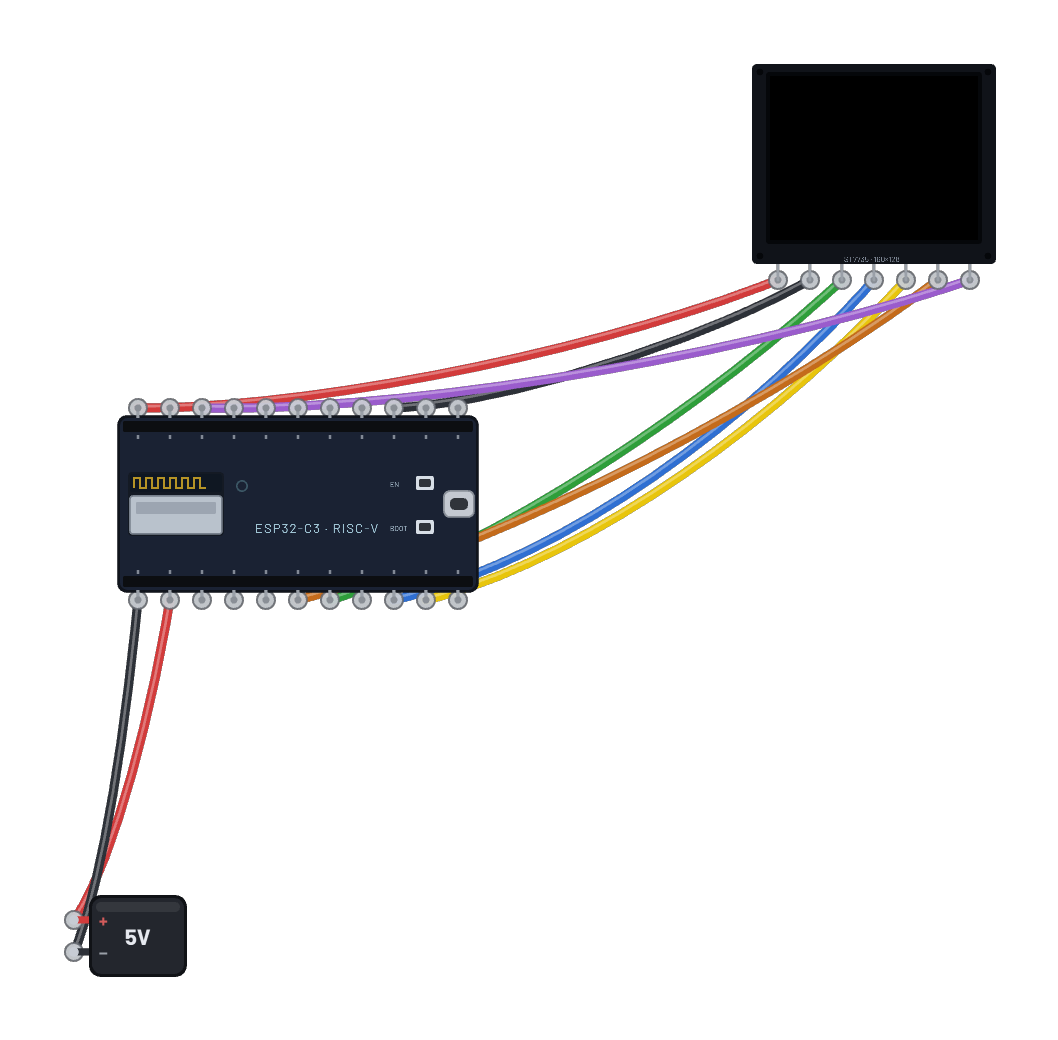
Cómo funciona
El ESP32-C6 controla una TFT ST7735 a color de 1.8″ por SPI por hardware: `machine.SPI(1)` original en los pines fijos (SCK=6, MOSI=7), con el controlador GPSPI2 emulado entregando transacciones completas a velocidad de bus. Tras la inicialización (reinicio por software, salida de reposo, COLMOD RGB565 de 16 bits y pantalla encendida), el script crea un búfer RGB565 de 160×128 con framebuf de MicroPython y lo envía de una vez: fija las ventanas con CASET (0x2A) y RASET (0x2B), envía RAMWR (0x2C) y dos bytes por píxel. El contador de direcciones recorre la ventana como el hardware y llega la imagen completa. El contenido es una tarjeta meteorológica del internet de pruebas (api.weather.test por TCP real), redibujada cada pocos segundos.
Componentes del montaje
- ESP32-C6
- TFT 1.8″ 160×128 (ST7735)
Cómo está conectado
- ESP32-C6 · 3v3→TFT 1.8″ 160×128 (ST7735) · vcc
- ESP32-C6 · gnd2→TFT 1.8″ 160×128 (ST7735) · gnd
- ESP32-C6 · g7→TFT 1.8″ 160×128 (ST7735) · din
- ESP32-C6 · g6→TFT 1.8″ 160×128 (ST7735) · clk
- ESP32-C6 · g5→TFT 1.8″ 160×128 (ST7735) · cs
- ESP32-C6 · g3→TFT 1.8″ 160×128 (ST7735) · dc
- ESP32-C6 · g4→TFT 1.8″ 160×128 (ST7735) · rst
El código
Este script de MicroPython se ejecuta en la placa emulada en cada arranque; edítalo en Code.
from machine import Pin, SPI
import framebuf, time, network, socket, json
W, H = 160, 128
# Hardware SPI (GPSPI2) on the C6 fixed pins: sck=6, mosi=7, miso=2.
spi = SPI(1, baudrate=20000000)
dc = Pin(3, Pin.OUT); cs = Pin(5, Pin.OUT, value=1); rst = Pin(4, Pin.OUT)
def wr(c, d=None):
    cs(0); dc(0); spi.write(bytes([c]))
    if d is not None:
        dc(1); spi.write(bytes(d))
    cs(1)
rst(0); time.sleep_ms(20); rst(1); time.sleep_ms(50)
wr(0x01); time.sleep_ms(120)          # SWRESET
wr(0x11); time.sleep_ms(120)          # SLPOUT
wr(0x3A, [0x05])                       # COLMOD 16-bit RGB565
wr(0x36, [0x00])                       # MADCTL: 160x128 window
wr(0x29)                               # DISPON
buf = bytearray(W * H * 2)
fb = framebuf.FrameBuffer(buf, W, H, framebuf.RGB565)
def rgb(r, g, b):
    # framebuf.RGB565 stores pixels little-endian, but the ST7735 wire is
    # big-endian (MSB first) — byte-swap so colors land right (the classic
    # TFT gotcha every real driver handles).
    v = ((r & 0xF8) << 8) | ((g & 0xFC) << 3) | (b >> 3)
    return ((v & 0xFF) << 8) | (v >> 8)
def show():
    wr(0x2A, [0, 0, 0, W - 1])         # CASET
    wr(0x2B, [0, 0, 0, H - 1])         # RASET
    cs(0); dc(0); spi.write(bytes([0x2C])); dc(1); spi.write(buf); cs(1)
w = network.WLAN(network.STA_IF); w.active(True)
w.connect('BreadboardNet')
while not w.isconnected():
    time.sleep_ms(100)
def weather():
    addr = socket.getaddrinfo('api.weather.test', 80)[0][-1]
    s = socket.socket(); s.connect(addr)
    s.send(b'GET /weather HTTP/1.0\r\nHost: api.weather.test\r\n\r\n')
    r = b''
    while True:
        c = s.recv(256)
        if not c: break
        r += c
    s.close()
    return json.loads(r.split(b'\r\n\r\n', 1)[1])
SKY = rgb(30, 90, 170)
CARD = rgb(20, 28, 40)
n = 0
while True:
    wx = weather(); n += 1
    fb.fill(SKY)
    fb.fill_rect(6, 6, W - 12, H - 12, CARD)
    fb.rect(6, 6, W - 12, H - 12, rgb(90, 130, 200))
    fb.text('INTERNET WEATHER', 14, 14, rgb(140, 200, 255))
    fb.text(wx['location'][:18], 14, 34, 0xFFFF)
    fb.text('%s C' % wx['temperature_c'], 14, 58, rgb(120, 255, 150))
    fb.text('humidity %d%%' % wx['humidity'], 14, 80, rgb(230, 210, 90))
    fb.text(wx['conditions'][:18], 14, 100, rgb(255, 150, 120))
    show()
    print('drew', n, wx['temperature_c'], 'C')
    time.sleep_ms(2000)
Prueba esto
- Observa la actualización de la tarjeta. Temperatura y condiciones llegan de una consulta HTTP real en cada ciclo.
- Cambia colores: edita rgb(...) o los rellenos SKY/CARD en Code y ejecuta de nuevo.
- Abre Wi-Fi sniffer para ver la consulta por radio y después el redibujado SPI.
- Cambia el origen: dirige weather() a /time o /api y adapta la tarjeta.